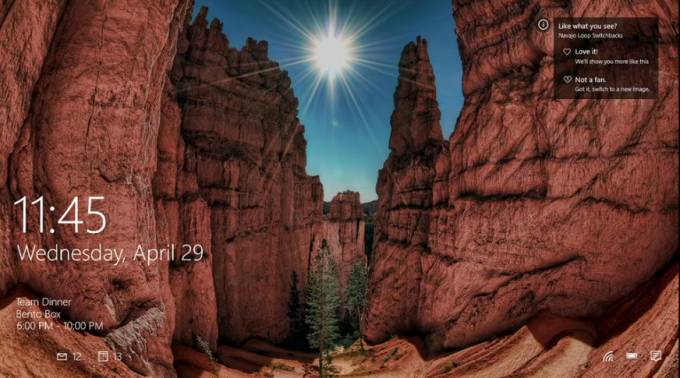
Disable Lock Screen Feature in Windows 11 /10 / 8:- It could be that annoying something if you always have to make some extra clicks to get past your windows Lock Screen. Windows Lock Screen is indeed a super cool feature that greets you warmly when you try to wake up your system from its nap. But you might not like things being forced on you. You might want to have the ultimate control over your system to decide which all features should you be provided with. So it’s quite normal if you want to turn off the Lock Screen feature and save some time. Sometimes, Lock Screen requires you to enter the login password, which is again time consuming. But it does add to additional security, just to remind you of the benefits that you get. If you still think that you do not want the Lock Screen feature to bother you again, and cannot find a straight forward method to turn it off in your Windows, you are in the right place. Dive into the article to learn how to turn off the Lock Screen feature in windows 10 by making a couple of registry changes.
Disable Lock Screen in Windows PC
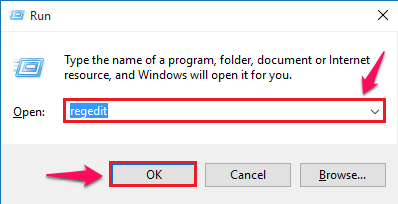
STEP 1 – You need to open the Windows Registry Editor first. For that, Run dialog box can be used. To open the Run dialog box, press WIN+R keys together. When the Run command window opens up, type in regedit and hit OK button.
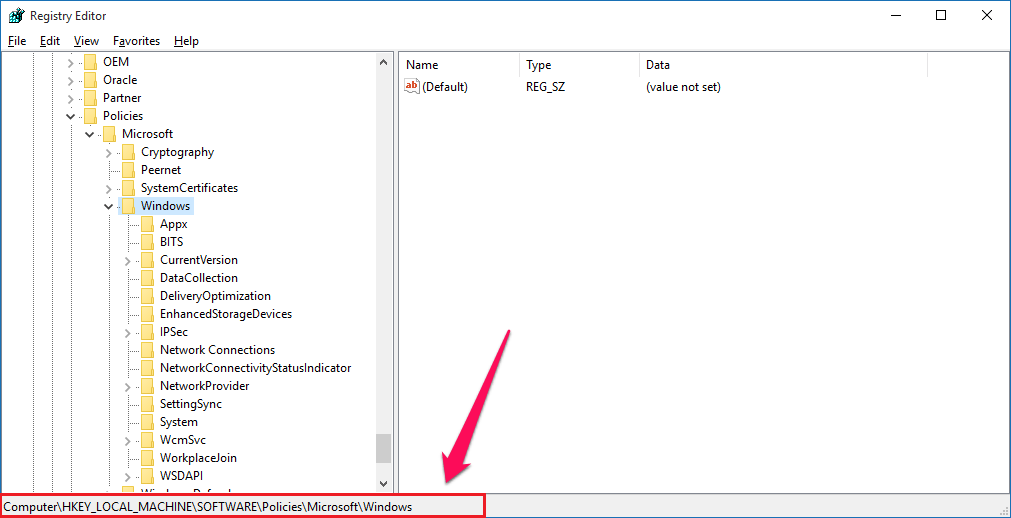
STEP 2 – Now a new window named Registry Editor opens up. As next, you have to navigate to the following path.
HKEY_LOCAL_MACHINE\SOFTWARE\Policies\Microsoft\Windows
Once you are there, make sure that you are on the correct path by checking with the path at the bottom of the window.
STEP 3 – You need to create a new key now. For that, right click on Windows, then click on New and then click on Key as shown in the screenshot given below.
STEP 4 – Name the newly created key as Personalization.
STEP 5 – Now in the right window pane, execute a right click, then click on New option and then click on DWORD (32 bit) value.
STEP 6 – Name the newly created DWORD value as NoLockScreen. Refer to the given screenshot if you have any doubts.
STEP 7 – Double click on NoLockScreen key. By default, it will have the Value data value as 0. Edit the Value data field and make it 1. Once you are all set, hit the OK button.
Finally, reboot your PC for the changes to take over. If you ever want to get your old buddy back, you can simply delete the NoLockScreen key that you have created. So that’s how simple you can get rid of your windows Lock Screen feature altogether. Try out the trick today itself. Hope you had fun reading the article.


