Now, one can record the on-screen running games in Windows 10 and re-view later by the newer tools inside the Xbox App, like the DVR settings which can be accessed and modified in the manner user wants to view the recorded gameplay. The recording can be basically done by opening a Game Bar dialog box, which can be opened by pressing shortcut keys as Windows+G simultaneously.
Recommended: 5 Most Addictive Best Xbox Games
You may follow line by line steps here to record your game play-
- After opening the Game Bar, a red button will appear. Click on it to record. Before clicking, ensure that the game you want to record is running in the background.

- At the top edge, you’ll find a timer, which will appear only when the Games Bar disappears. If you want to end the recording at any point of time, open the Games Bar again by pressing Windows+G keys. You will then find a square button in Red color. Press it to stop the recording.

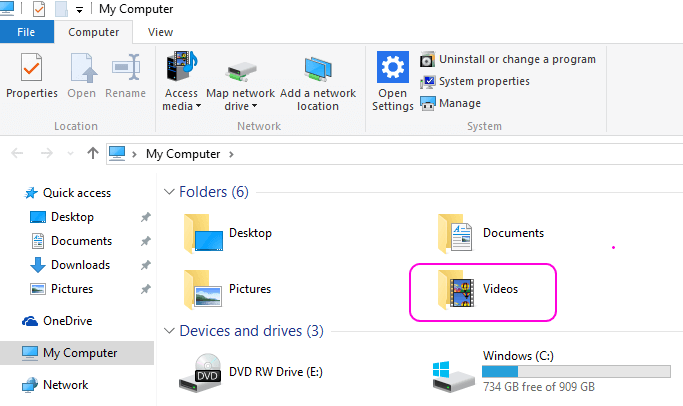
- The Game recording would be done, indicated by a message appearing on screen saying “Game Clip Recorded”. This recorded clip would be saved in videos folder of your PC.

- If you are having any trouble for above or you prefer a rather faster option when you are playing and want to record a game walkthrough, you can have another option for directly starting the recording. Win+Alt+R keys will directly start and end the recording.
- For viewing various shortcut keys and tweaking important settings, you can open Xbox app which will also opens up a list of shortcut keys used for recording the game. You can open the Xbox app by typing Xbox in “Search box of taskbar” or you can directly find it in the Start Menu.

- Here (Xbox App), you will find the Settings in the side menu. Open Settings.

- Now, Proceed by opening the Game DVR Tab, available directly next to the General Tab.
- The Game DVR option comes up with two choices. First choice is “Record game clips and screenshots using Game DVR”, which would be enabled by default. You can change it here. Also, you can modify the keyboard shortcuts, if you want.

- Second choice will be “Record in the background while I’m playing a game”. You will be indicated by a command written beneath that option as “This may affect game performance”. Turn this on after ensuring that your system meets the specifications required to exhibit this function.

- If you want to uncheck recording while on battery or wireless display, you can do so by disabling two options given below-
- Allow background recording when using battery power
- Allow background recording while I’m using wireless display

Also, you can set the max length of recording for your game.

How to view recorded Games in Game DVR
- Now, once you are done with the recording of the game, you would want to view the recorded video. You can find the destination by opening the Xbox app, and then in the side menu by opening “Game DVR” option.

- Now, under Game DVR you will find three sub-sections: On This PC, Shared and Community. Click on Open this PC.

- You can find your recorded video or screenshot here. You can find your video by the date on which you recorded your video. You can play / view them in the right section by clicking the Play button.
This feature is easy to use and is of relevant use. If you want to make any game walkthrough for every level in a game so that you can upload them on YouTube or somewhere else, we hope this post would have helped you a lot.