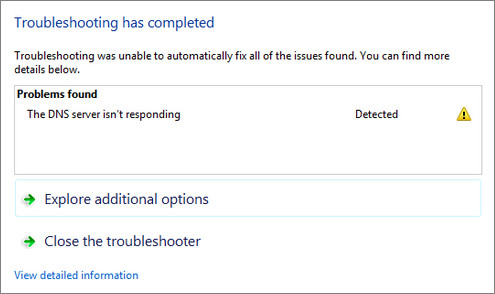
While trying to connect to the internet, sometimes you may have failed. Then troubleshooting to find the cause will be the next step. After the troubleshooting sometimes you may get this error message saying ‘DNS server not responding’.
This is a common error. First let’s see what is a DNS server. A DNS Server is Domain Name Server. It translates the URL we provide for searching a particular page into the actual address of the web page. It resolves the physical address into IP address.
We can try to solve this problem by different methods. First of all when you get this error try to access the internet from a different browser. Sometimes this can help you. If this did not help you, then we can try changing the DNs server address. For that follow these steps:
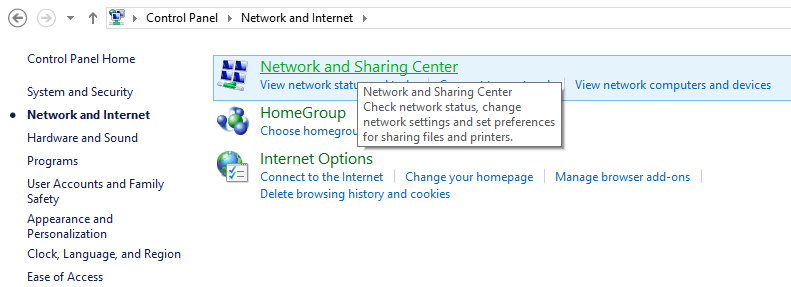
- Open the Network and Sharing center. For that navigate to control panel->Network and Internet->Network and Sharing Center.
Alternatively you can access Network and Sharing center by right clicking on the Network icon on the taskbar.
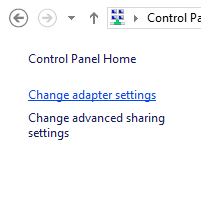
2. Now choose adapter settings from the side menu.
3. This will give you a list of the available network adapters in the system . From them right click on the adapter you are using to connect to the internet now and choose properties option.
4.Now in the networking tab choose ‘Internet Protocol Version 4 (TCP/IPv4)’.
5. Now you can see the properties dialogue box showing the properties of IPV4. Here you need to change some properties. Select ‘use the following DNS address’ option. Now fill the following fields as given here.
Preferred DNS server: 208.67.222.222
Alternate DNS server :208.67.220.220
This is an available Open DNS address. You can also choose from other free available DNS Servers.
OR
You can also google DNS server addresses from the internet.
Preferred DNS server: 8.8.8.8
Alternate DNS server :8.8.4.4
After filling these fields. Check the ‘validate settings upon exit’ option. Now click OK.

You have to add this DNS server address in the router configuration also by referring the router manual for more information.
Now try to connect to the internet. If this also didn’t work we can try some more methods.
More Methods
1. Now let’s change the address in the physical adapter settings. For this open the command prompt and type ‘ipconfig/all’. Now look for your network adapter and note the physical address of the connection.
2. Go to start and type ‘NCPA.CPL’. Then right click on your adapter and go to properties. Select configure option.
3. Now in the advanced tab select ‘Network Address’. Select the ‘value’ button and enter the physical address noted earlier. Click OK and reboot the system.
This may resolve your problem. If not then we can try to power cycle the router. For this just unplug the router from the power source and the computer. Leave it like that for about a minute. Then plug in again and try to access the web.
Flush DNS
Another method you can try is to flush the DNS stored in your computer. This clears the DNS data int the cache memory.For this open the command prompt and type ‘ipconfig/flushdns’.
Some other remedies are to disable any extra connection in the system. This can be checked from the adapter settings in network and sharing center. Also you can try to connect to the internet in safe mode.
These remedies may be able to resolve this error. Hope you got your problem solved.


