The Blue Screen of Death Error 0X000000D1 DRIVER_IRQL_NOT_LESS_OR_EQUAL is more common than we think. It usually occurs after every 2-3 days unless the cause is rectified.
Causes
The causes behind the error could be a faulty device driver, an issue with the BiOS, or an interfering system service.
Try the following preliminary steps:
1] Scan your system for virus and malware, either using Windows Defender or any reputable 3rd party anti-virus.
2] Uninstall any recently installed suspicious software.
3] Update windows
If they don’t help, proceed with the following solutions:
1}Update all the device drivers
2} Update the BiOS
3} System restore
Note: – If you are unable to log in to your system, try the methods given below by logging into safe mode.
Solution 1] Update all the device drivers
The general procedure to update device drivers is as follows:
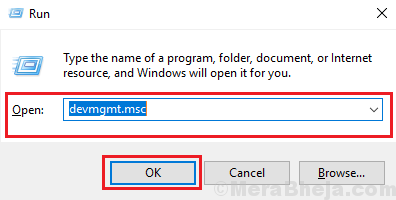
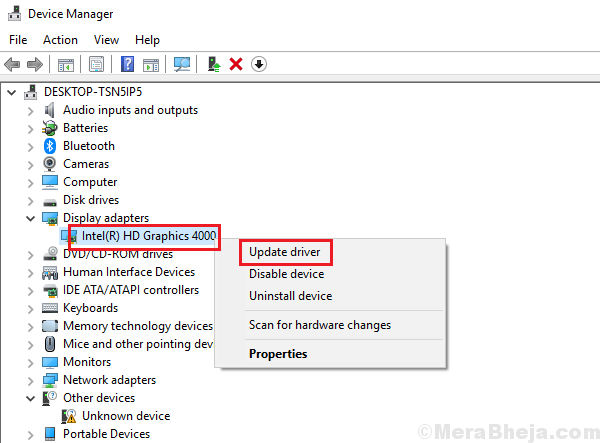
1] Press Win + R to open the Run window and type the command devmgmt.msc. Press Enter to open the Device manager window.
2] Right-click and update all the drivers one by one.
Since it is difficult to update all the drivers, we could use 3rd party tools available online to help with the same.
Solution 2] Update the BiOS
Another reason behind this issue is an unsupported BiOS. We could download and install the latest version of the BiOS from the manufacturer’s website.
Solution 3] Check for memory problems with the system
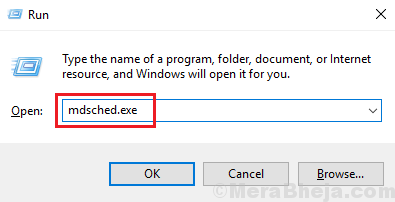
1] Press Win + R to open the Run window and type the command mdsched.exe. Press Enter to open the Windows Memory Diagnostics window.
2] Select Restart now and check for memory problems.
This would automatically check for issues with the system.
Solution 3] System restore
We could also restore the system to a previous date. It would be helpful in restoring the previous drivers as well.
1] Press Win + R to open the Run window and type the command rstrui.exe. Press Enter to open the System restore window.
2] Here you would find 2 options: one is a recommended restore date and time and the second is to choose a different restore point. Choose whichever option is favorable to you and update the system.
Hope it helps!
Note: – If you can not boot into your system, then try going to automatic repair screen using the steps given below.
What if you are unable to boot
1. Turn off your computer.
2. Then, start your computer using power button once.
As soon as something appears on screen (Usually logo of your laptop manufacturer), just press and hold the power button for 5 seconds continuously to force shutdown your device.

3. Keep repeating this process (Force shutdown and then starting again) for 2–3 times until you see Automatic repair screen.

4. Then, click on “Advanced options“ in the next screen.

5. After that, you need to click on “Troubleshoot“.

6. Then, click on the “Advanced options“.

7 – Now, choose system restore

8 – Now, Restore your system to an earlier date