One Drive is a file hosting and synchronisation service operated by Microsoft. It allows users to store files and personal data, share and sync files through various mobile devices. Microsoft documents can be directly uploaded to One Drive.
Central features of One Drive are
- One Drive offers 5 GB extra space to the user.
- It allows you to sync files across Android, Windows phone, iOS mobile devices and computers.
- It holds file history that means you can undo changes.
1) Creating a One Drive Account
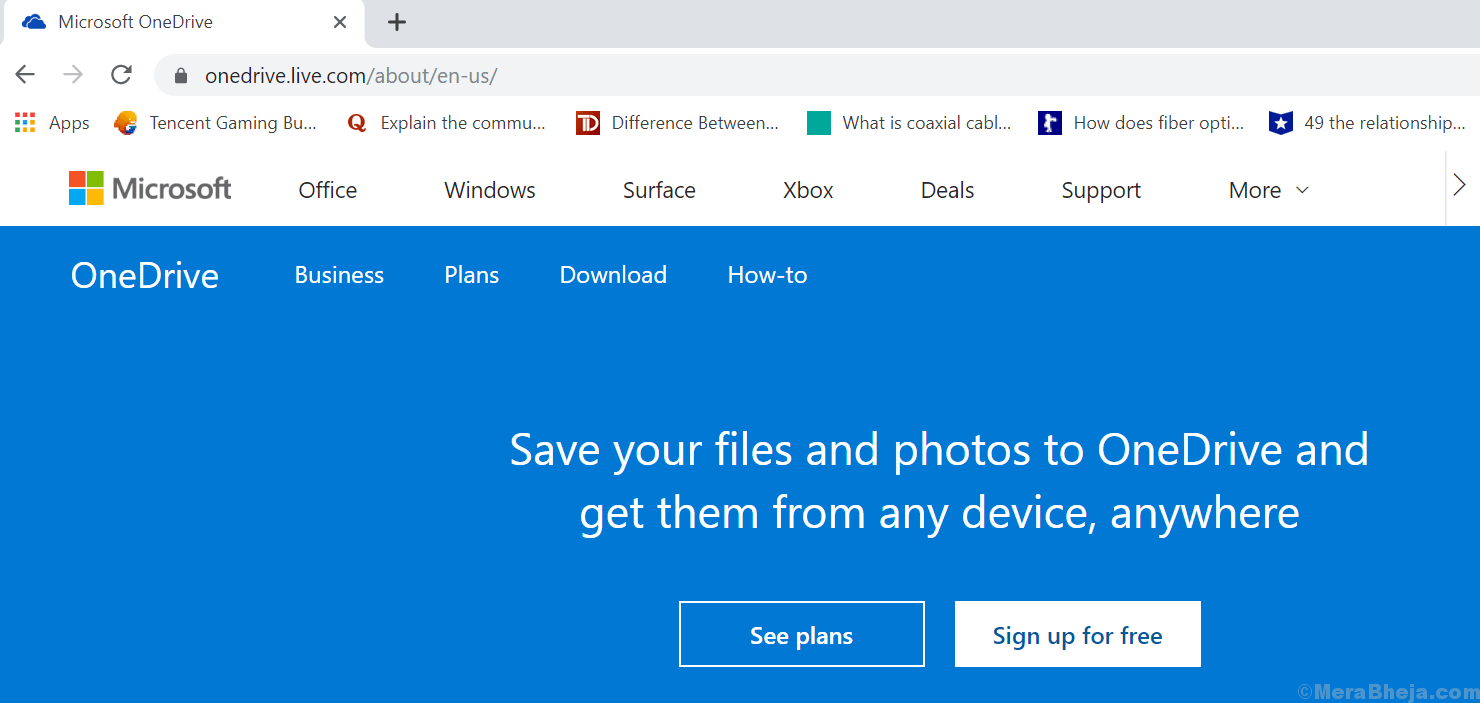
1. Open One Drive.com in any web browser like google chrome.

2. Select Sign up for free box.

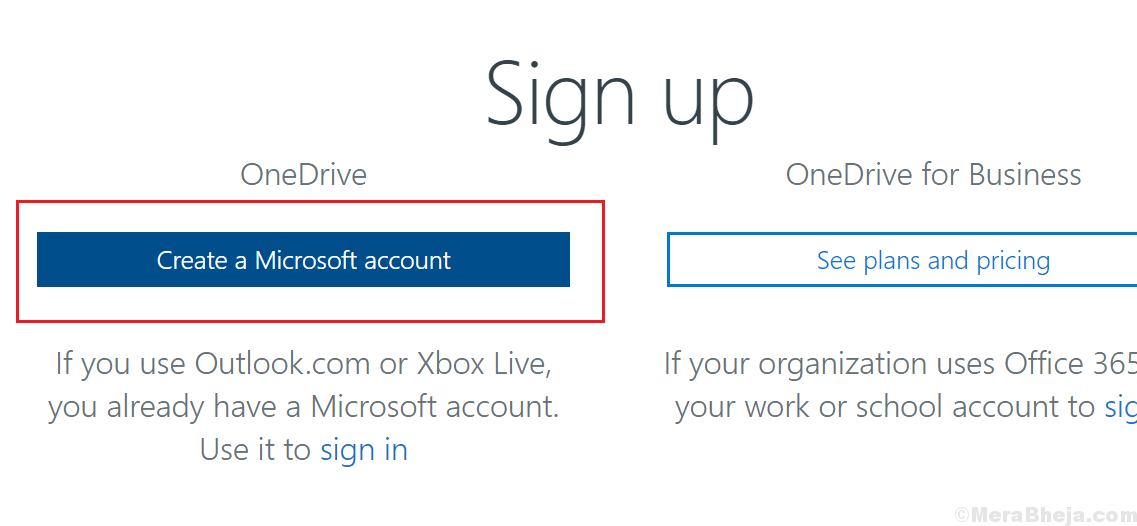
3. Choose “Create a Microsoft account” on the left side of the web page.

4. Just below Create account is an empty field, mention your e-mail address and go to Next.

5. Create a password for your account in the empty field and select Next.

6. A new web-page will open Verify email. Type the verification code sent to your entered email-address and choose Next.

7. The screen will be as shown below, Enter the captcha and complete the verification by clicking on Next.

Your One Drive account is created now you can start exploring One Drive.
2) Installing One Drive on Windows 10
1. Search One-Drive in the Windows 10 search box.

2. A new windows page will open, as shown below. Click on Get Started.

3. Write your Microsoft email-address and select Sign in.

4. Mention the password of your account and go to Sign in.

( So that One drive does not create any issue of file synchronization you can change the location of the One Drive folder.)
5. Your One Drive Folder will open. Click Next.

6. Choose Not now and use the free version.

7.Select Open my One drive folder.

One Drive Folder will open. Start by synchronizing your files by clicking on Next.

Your One Drive Folder is created . Start by uploading, sharing, storing and synching files.
3) Uploading files in One Drive
1. Search File explorer in Windows 10 search box .

2. Open it and choose One Drive in the left side menu.

3. Insert files from your device in the One Drive Folder.
(You can do this either by dragging and dropping the folders or by Copy-Paste function.)
After completion of the steps mentioned above you can see your files in the One Drive Folder and they will get automatically synced to your account.
Saving files directly in your One Drive Folder will save you memory space.
4) Choosing which folders to sync from One drive
You should specify which files from One Drive should be accessible from your computer otherwise it will get difficult to manage all files and folders.
1. Select the Cloud icon on the bottom right side of the screen in the task bar.

2. Select More option in the right side corner .

3. A toolbox will open. Choose Settings.

4. Choose the second option Account and select Choose Folders box.

5. Uncheck Sync all files and folders in One Drive and click on Ok.

6. Put a tick mark on files you want to access through your PC.

7. Then select Ok.

After completion of these steps, only files selected by you will be available on your One Drive Folder.
Using One Drive files on-demand
The One Drive files on-demand feature allows you to access all files in your One Drive account without having to download documents and other media files to your computer first. It helps to free-up a lot of storage space.
1. Right-click on the One Drive icon (cloud) in taskbar, choose the three dotted icon more and then click on settings.

2. Choose Settings option and put a tick mark on Save space and download files as you use them. Then select OK.

3. Your files on-demand service has started. Now type One Drive in the search box and Right-click on any file and choose any one of the two options Free up Space(the file will be available only when there is an internet connection) or Always keep on this device( the file will be accessible offline.)

7)Sharing files using One Drive
1. Open One Drive and Right-Click on the One Drive file you have to share and click on Share a one drive link.

2. A new notification will be there saying that a new link is created. And it will be copied to clipboard. You have to paste the link and send it to the receiver.

8)Getting more storage on One Drive
1. Click on the Cloud icon in your task bar and Right-click on more option and select Settings.

2. Select the Account option . Here it is mentioned how much of the storage space has been used . The Free version that we have used here provides users with only 5 GB space. For more space click on Get more storage.

3. You will be back on the sign in page. Then enter your password and a new windows will open as such.

3. Go to Manage Storage and free-up space. For additional storage capacity download the premium version.
We hope the above article helped you to understand One Drive in Windows 10 and overcome any difficulties faced by you while using it.