A user asked in the comment section of this blog about changing the display name of printer in windows 10. I am giving you steps to change printer name in windows 10 as per your wish. Normally, default name of printers tends to confuse users and users want to rename it to a more easy to recognize name. Renaming a printer is very easy, just follow screenshots below to do that.
Change printer name in windows 10 Using Settings
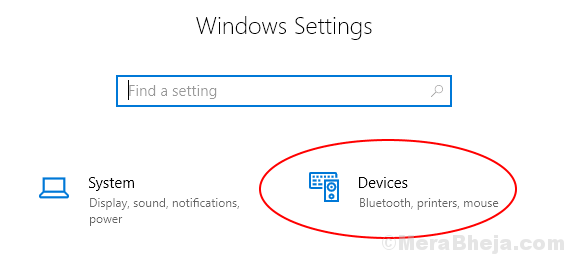
Step 1 – Press Windows Key + I together to Open settings.
Step 2 – Now, Choose Devices.

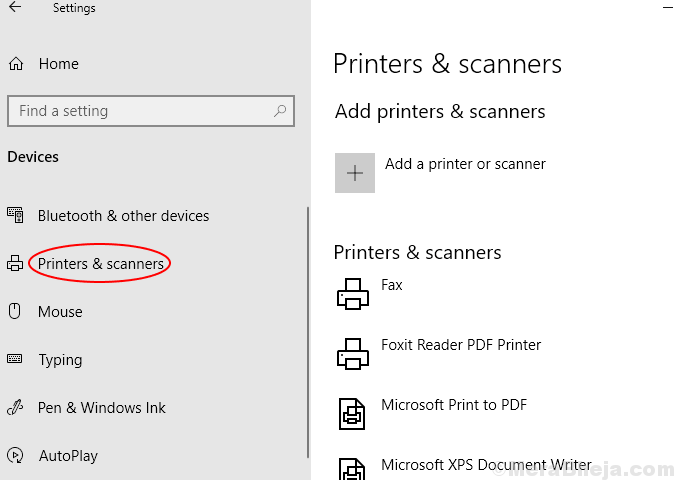
Step 3 – Choose Printers & Scanners from the left Menu.

Step 4 – Click On your Printer to expand it.
Step 5 – Click on Manage.

Step 6 – Click On Printer Properties.

Step 7 – Change the Name of your Printer.
Step 8 – Click on Change Properties.

Step 9 – Write Down new name of Printer here.

Step 10 – Press Ok.
How to change printer name in windows 10 Using Control Panel
Step 1 – Press windows key + x to open menu in the left screen of your windows 10 pc.
Step 2 – Now, click on control panel to open it.
Step 3 – Click on view devices and printers under hardware & sound section.

Step 4 – Now, right click on the printer which you want to rename and click on printer properties.

Step 5 – This opens a window, where your printer name is visible in an input field. But, wait, you can not edit it. Click on change properties as shown in screenshot below.

Step 6 – Now, in the upcoming window, erase the old name and write new name of the printer as shown by arrow in the given picture.

You just renamed the printer.